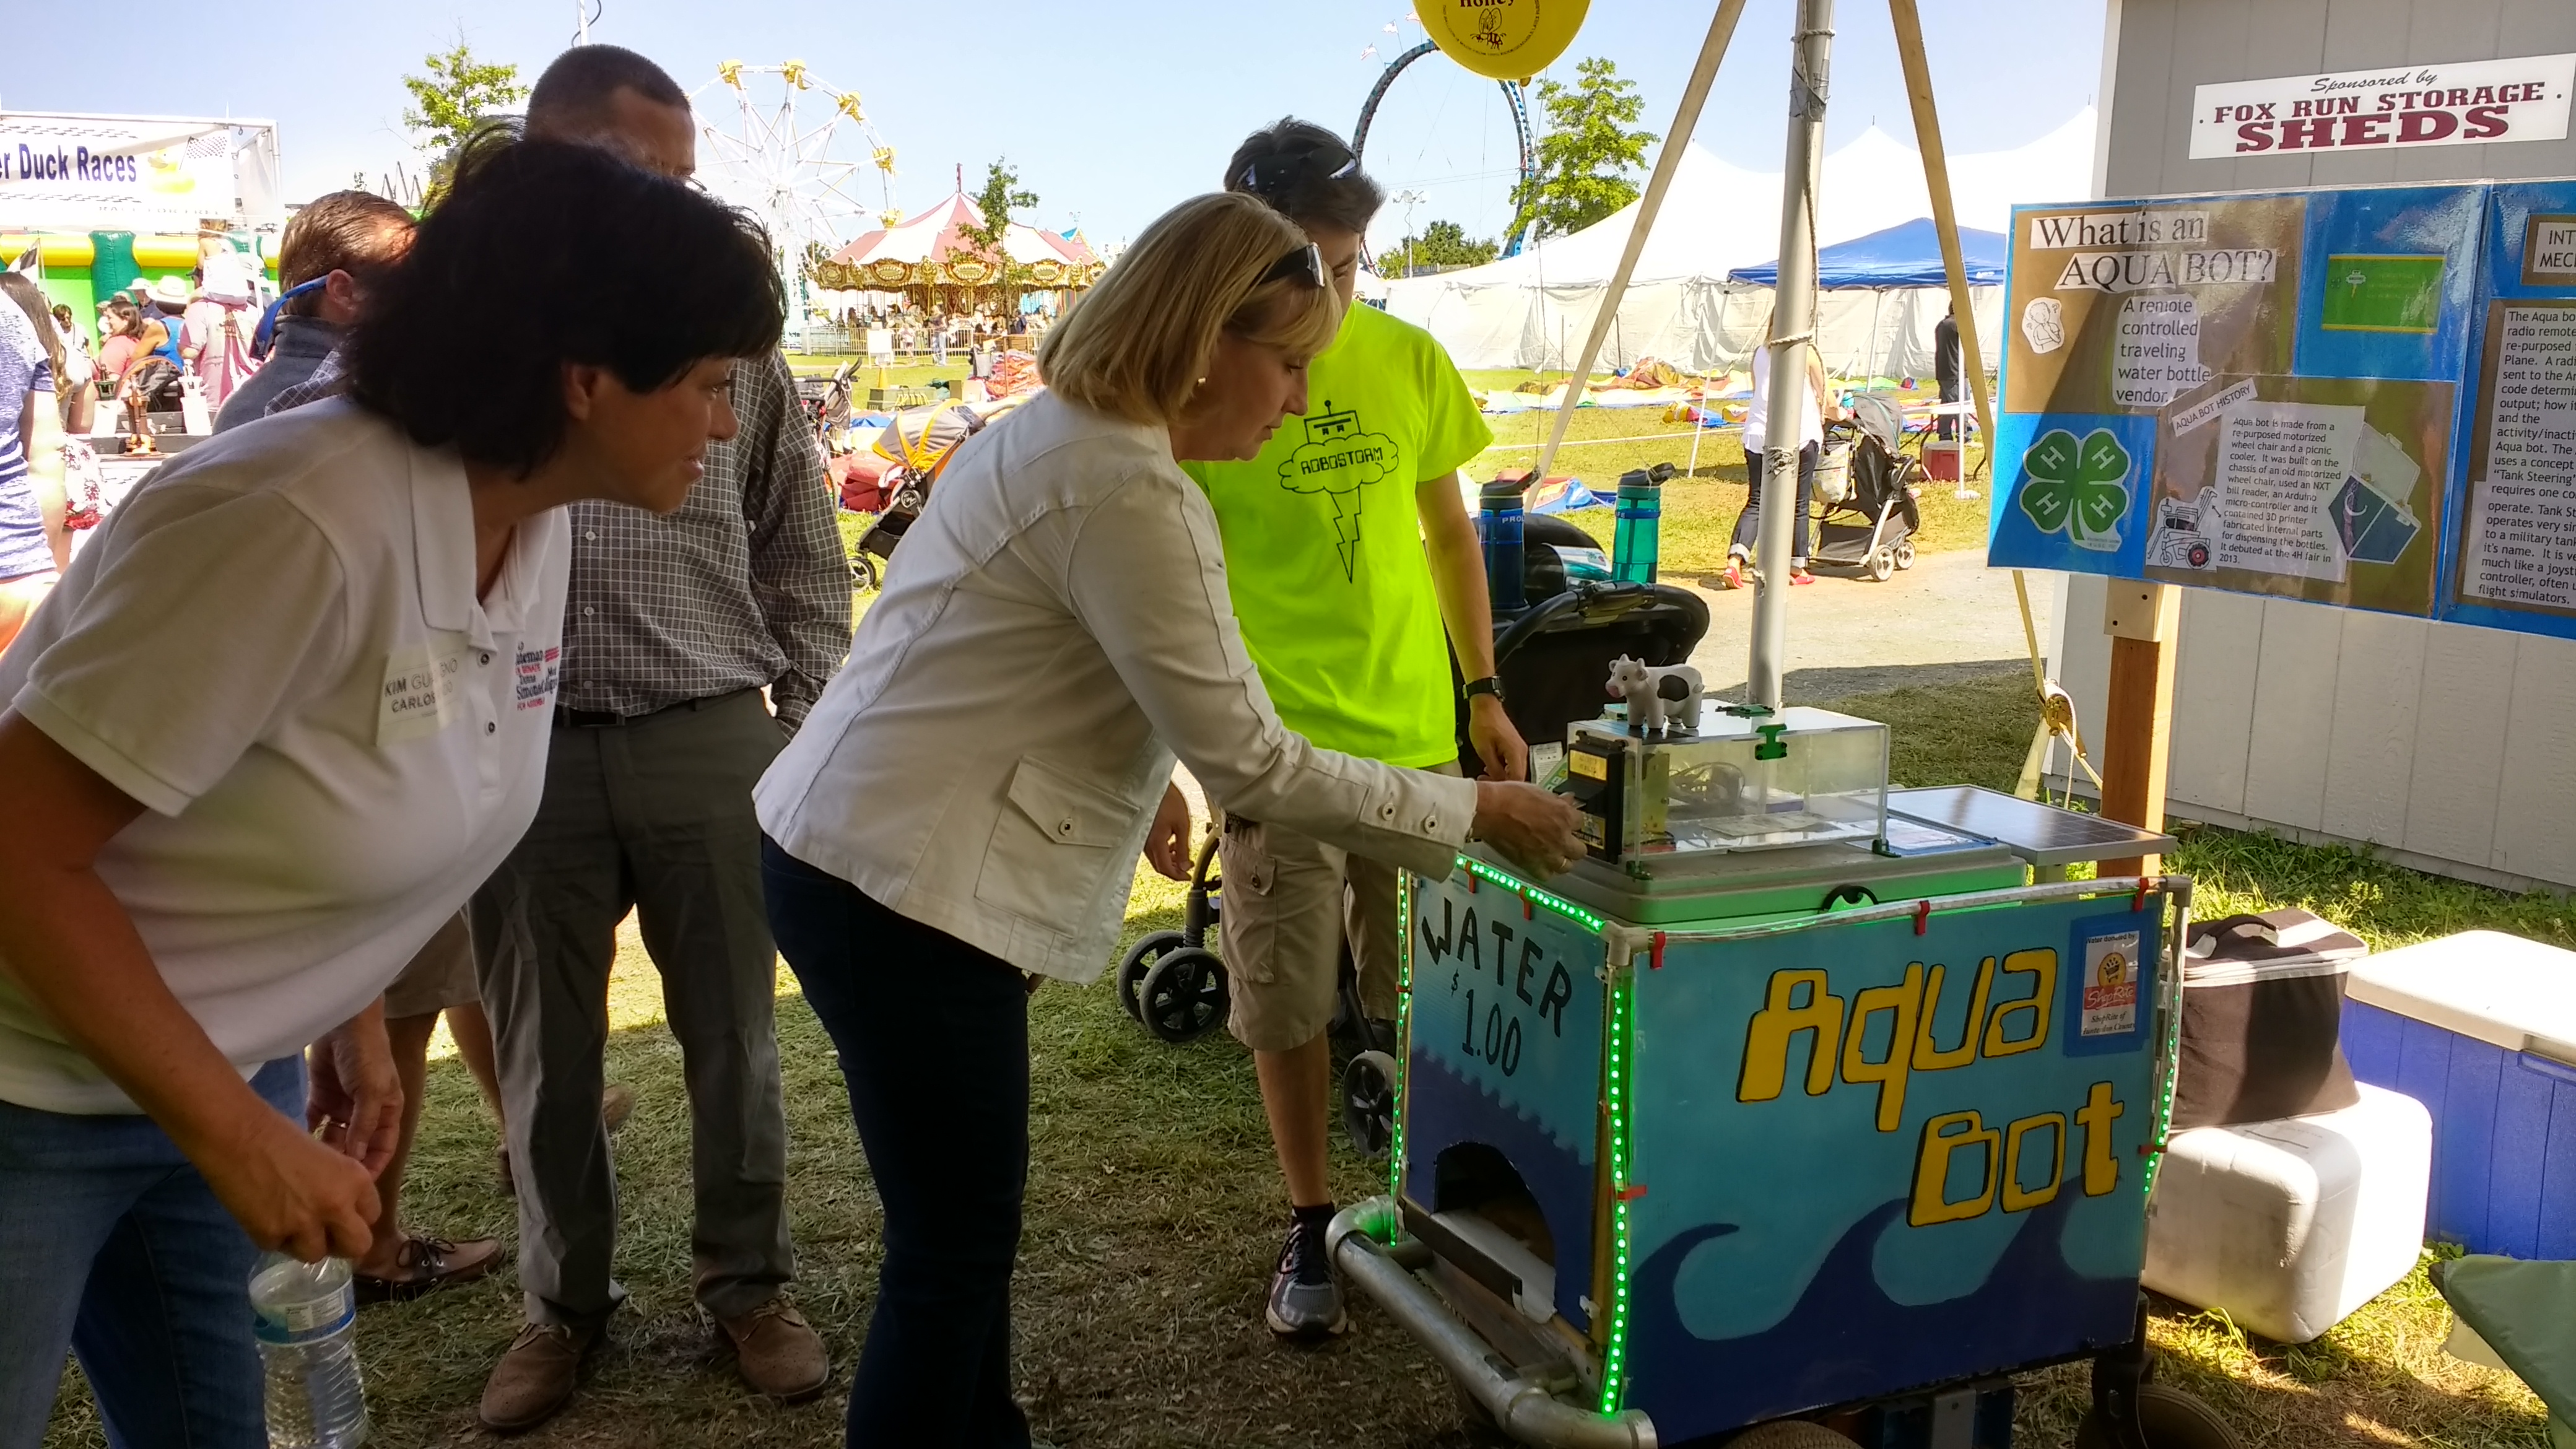

During one of the first fairs that Robostorm had had a tent at, we noticed that it was very hot at the fair, and no one wanted to venture into the sun to buy water from a vendor. It is from this that we can up the the Aquabot, a robot that brings the water to you.
Driving

At first, I was in charge of building the base and making it move. We decided to reuse the base of an old powered wheelchair, and add our own electronics to make it remote control. We were able to get one donated from a local assisted living place. We got a new battery, and removed the old chair and electronics, but kept the drive motors. We built a wooden frame above the steel frame of the base, and added a large electronics box to the back.
In designing the circuit to drive the Aquabot, we made sure
to add safety features to avoid urning people over by accident. The power switch operated somewhat like
a key in a car: there is an off, on, and momentary start positions. The start position will
activate a latching relay that controls power to the motors, allowing a bumper on the front of the
Aquabot to disable the relay, turning of the motors. To be re-enabled, the switch must be held in the
start position. We chose a motor controller that could take in RC receiver inputs directly, without
the need for a microcontroller. However, it was later decided to add an atmega328 microcontroller to
process the inputs and provide additional safety features. The board that it is on was designed so that
the microcontroller can be bypassed easily, if the code ever had an issue. The microcontroller will
require that it be 'activated' by pressing a button on the remote, and will stay activated for five
seconds or as long as it is moving. This makes it less likely that a stick on the remote will get
accidentally bumped and cause unexpected motion. The microcontroller also limits the acceleration of the
Aquabot, so that if the stick is bumped while it is activated, it will not suddenly jerk.
During setup for the 2016 fair, the Aquabot seemed to have stopped moving. After some investigation, we determined that the motor controller had died. The fair was just a day away, and we needed to get the Aquabot moving. There was no time to order a new one. We quickly removed the dead controller, and I brought it home for inspection. However, there were no blown fuses, fried components, or anything I could tell was wrong. There was nothing we could do to bring it back. Fortunately, a few of us club members were on a local FIRST Robotics Team, 3637. We were able to borrow a pair of Talon SRX motor controllers, so the next day we got to work installing them. However, these would not interpolate the driving and turning signals like the old motor controller did. Luckily, this was just a quick software adjustment on the atmega328 that provided driving safety features. This ended up working great for the fair. A year later, team 3637 wanted their Talon SRXs back, so we replaced them with older Talon SRs.
Dispensing and Bill Accepting

The cooler and water dispenser was originally made by other members of the club. It use Lego Mindstorms motors and controller to accept money and dispense water. It also used two coolers, one as storage and dispensing, and the other with a track to guide the water out. This was used for the first fair of the Aquabot, but it had issues. The Lego motors were not really powerful enough to dispense the water, and it could only hold a couple bottles at a time.
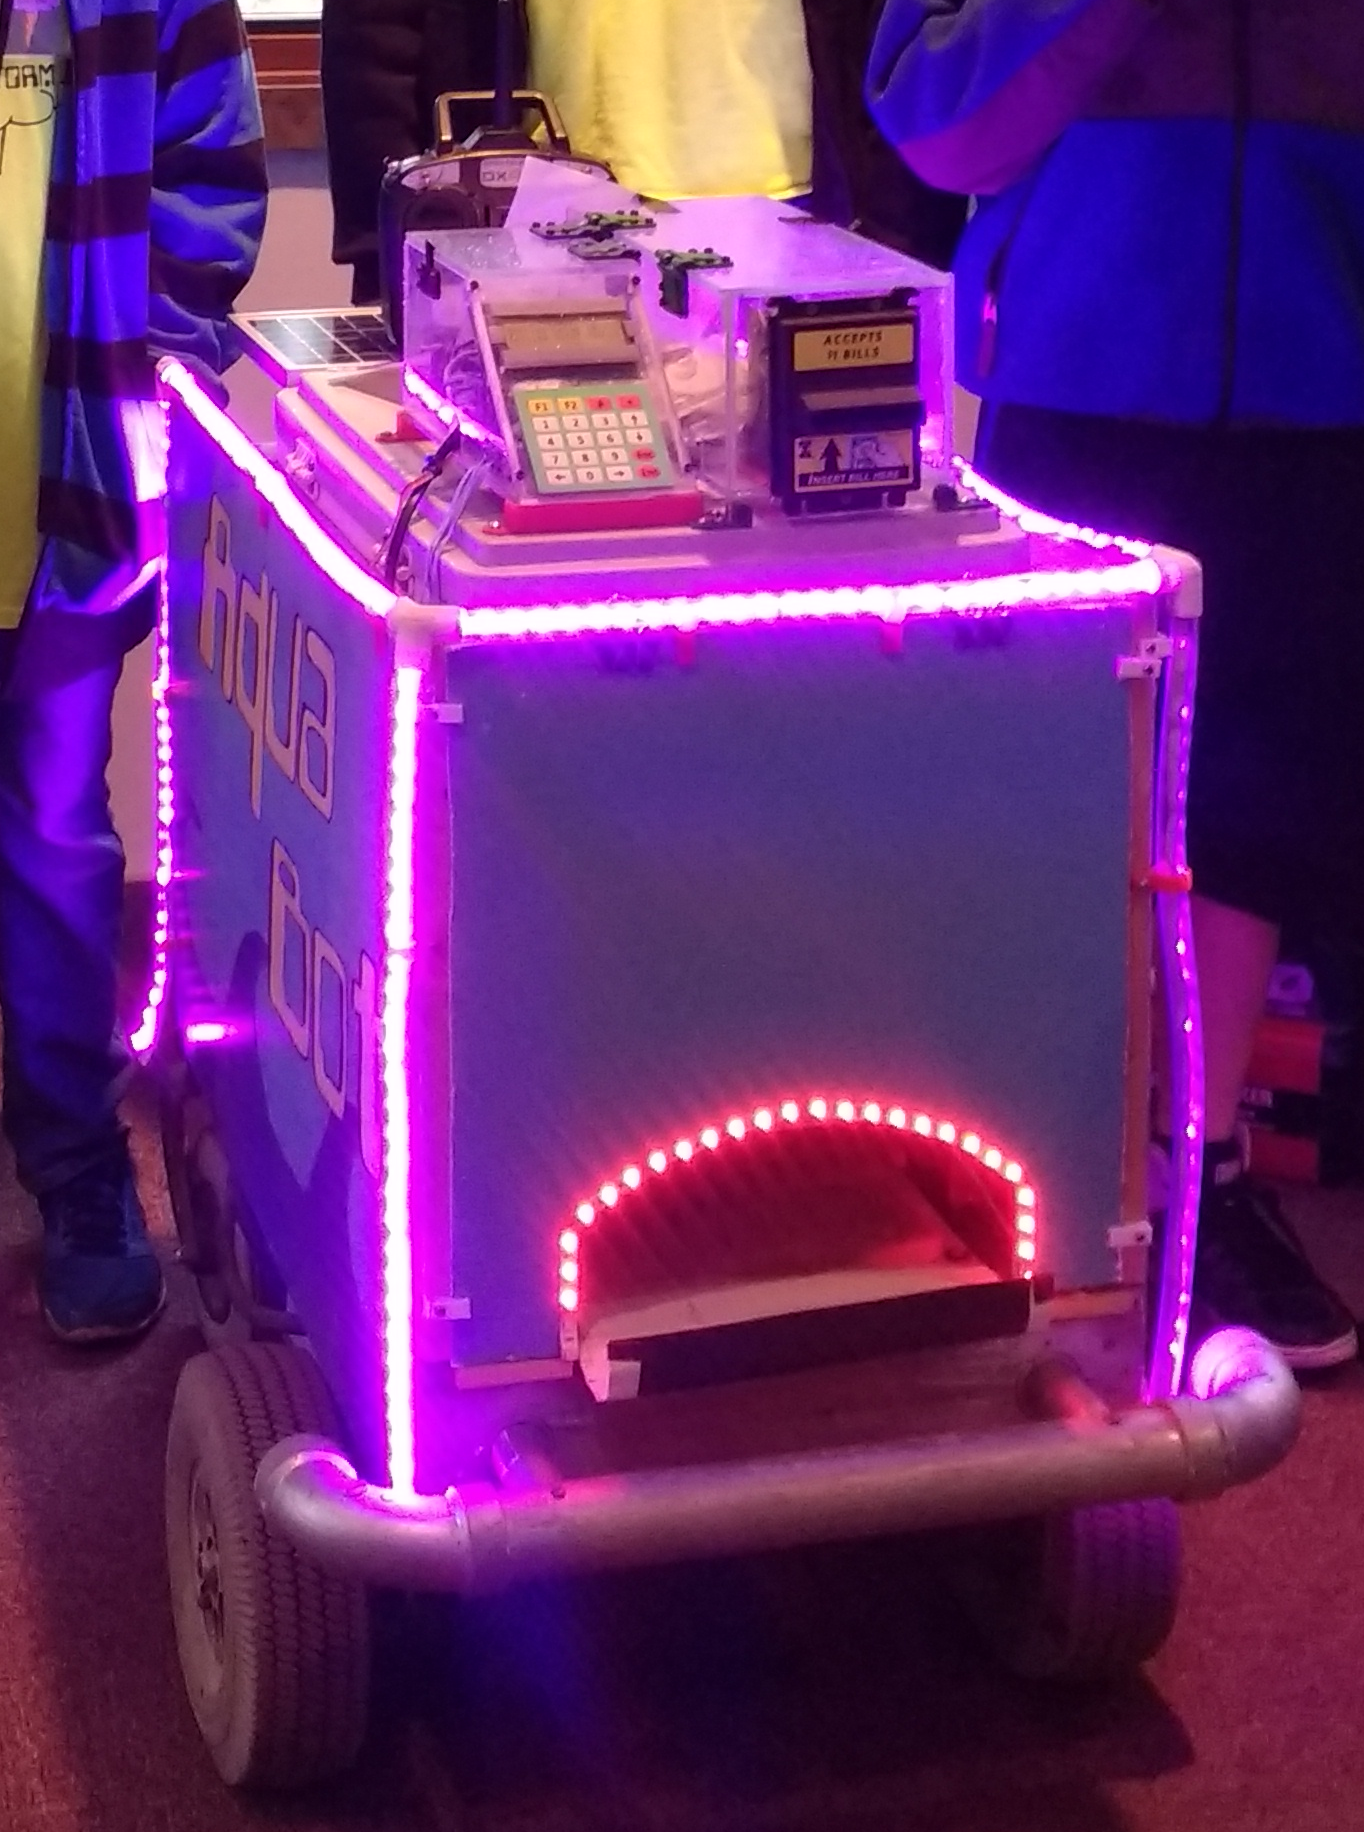
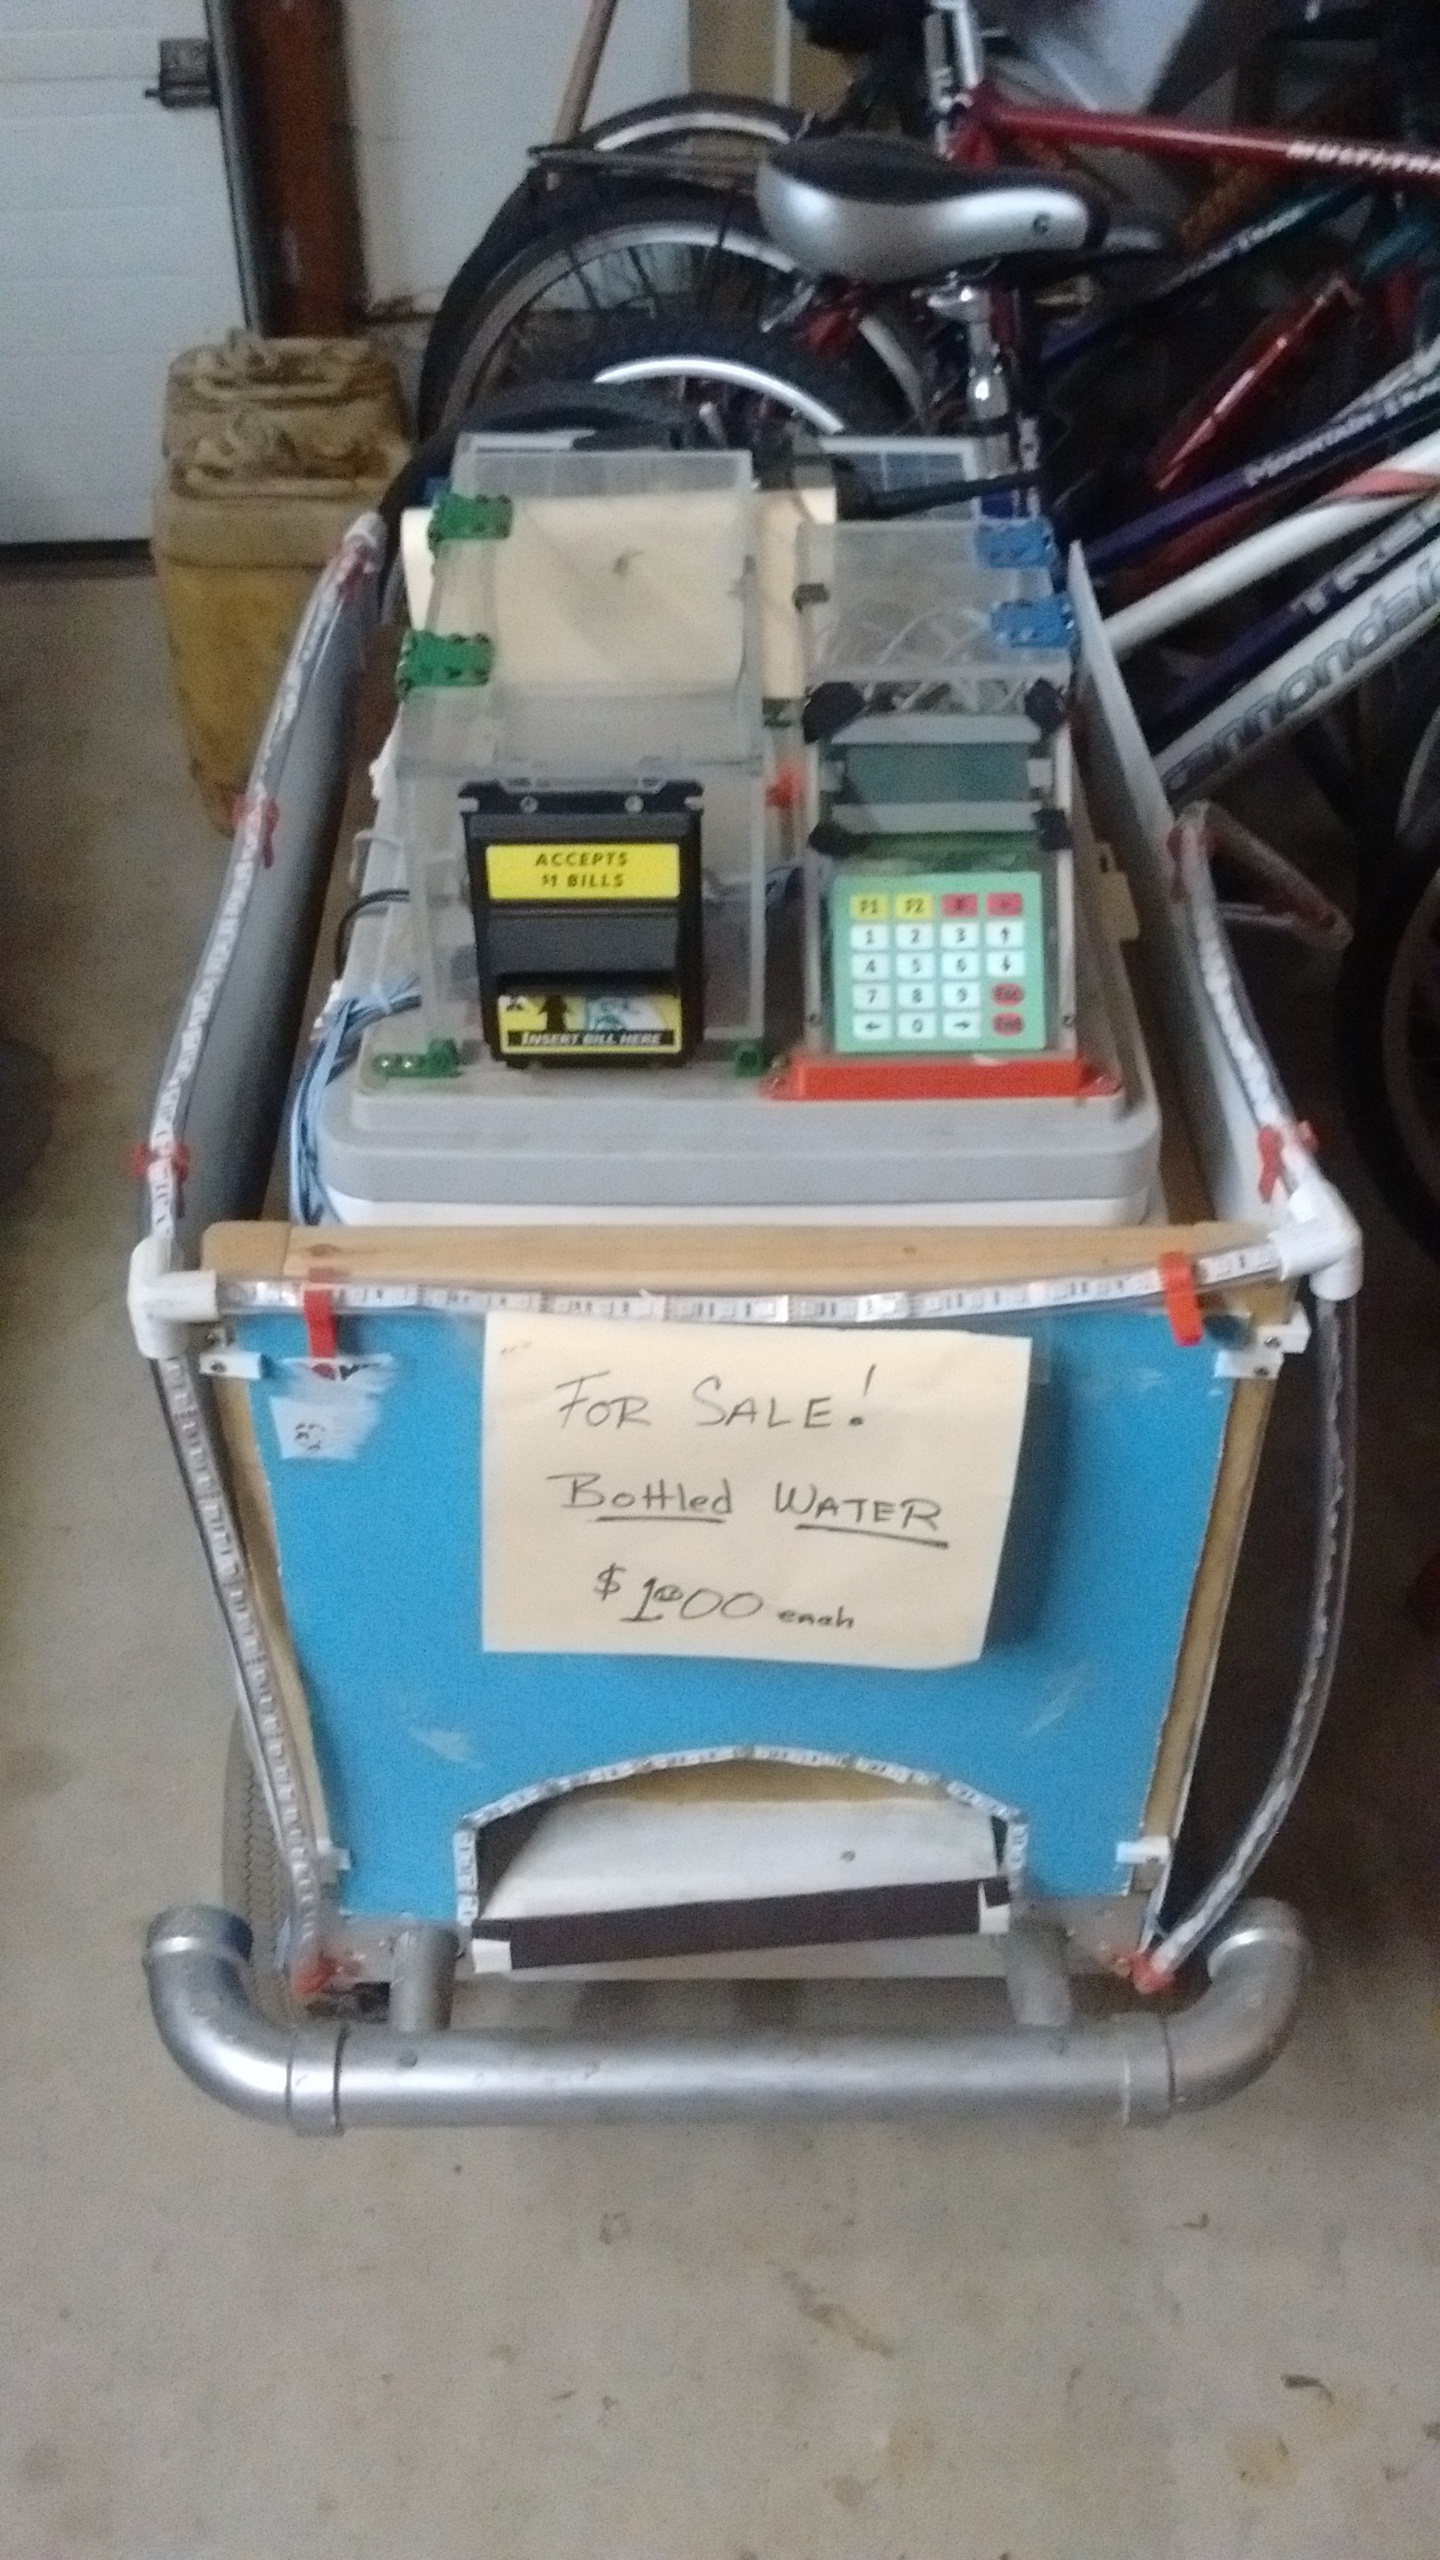
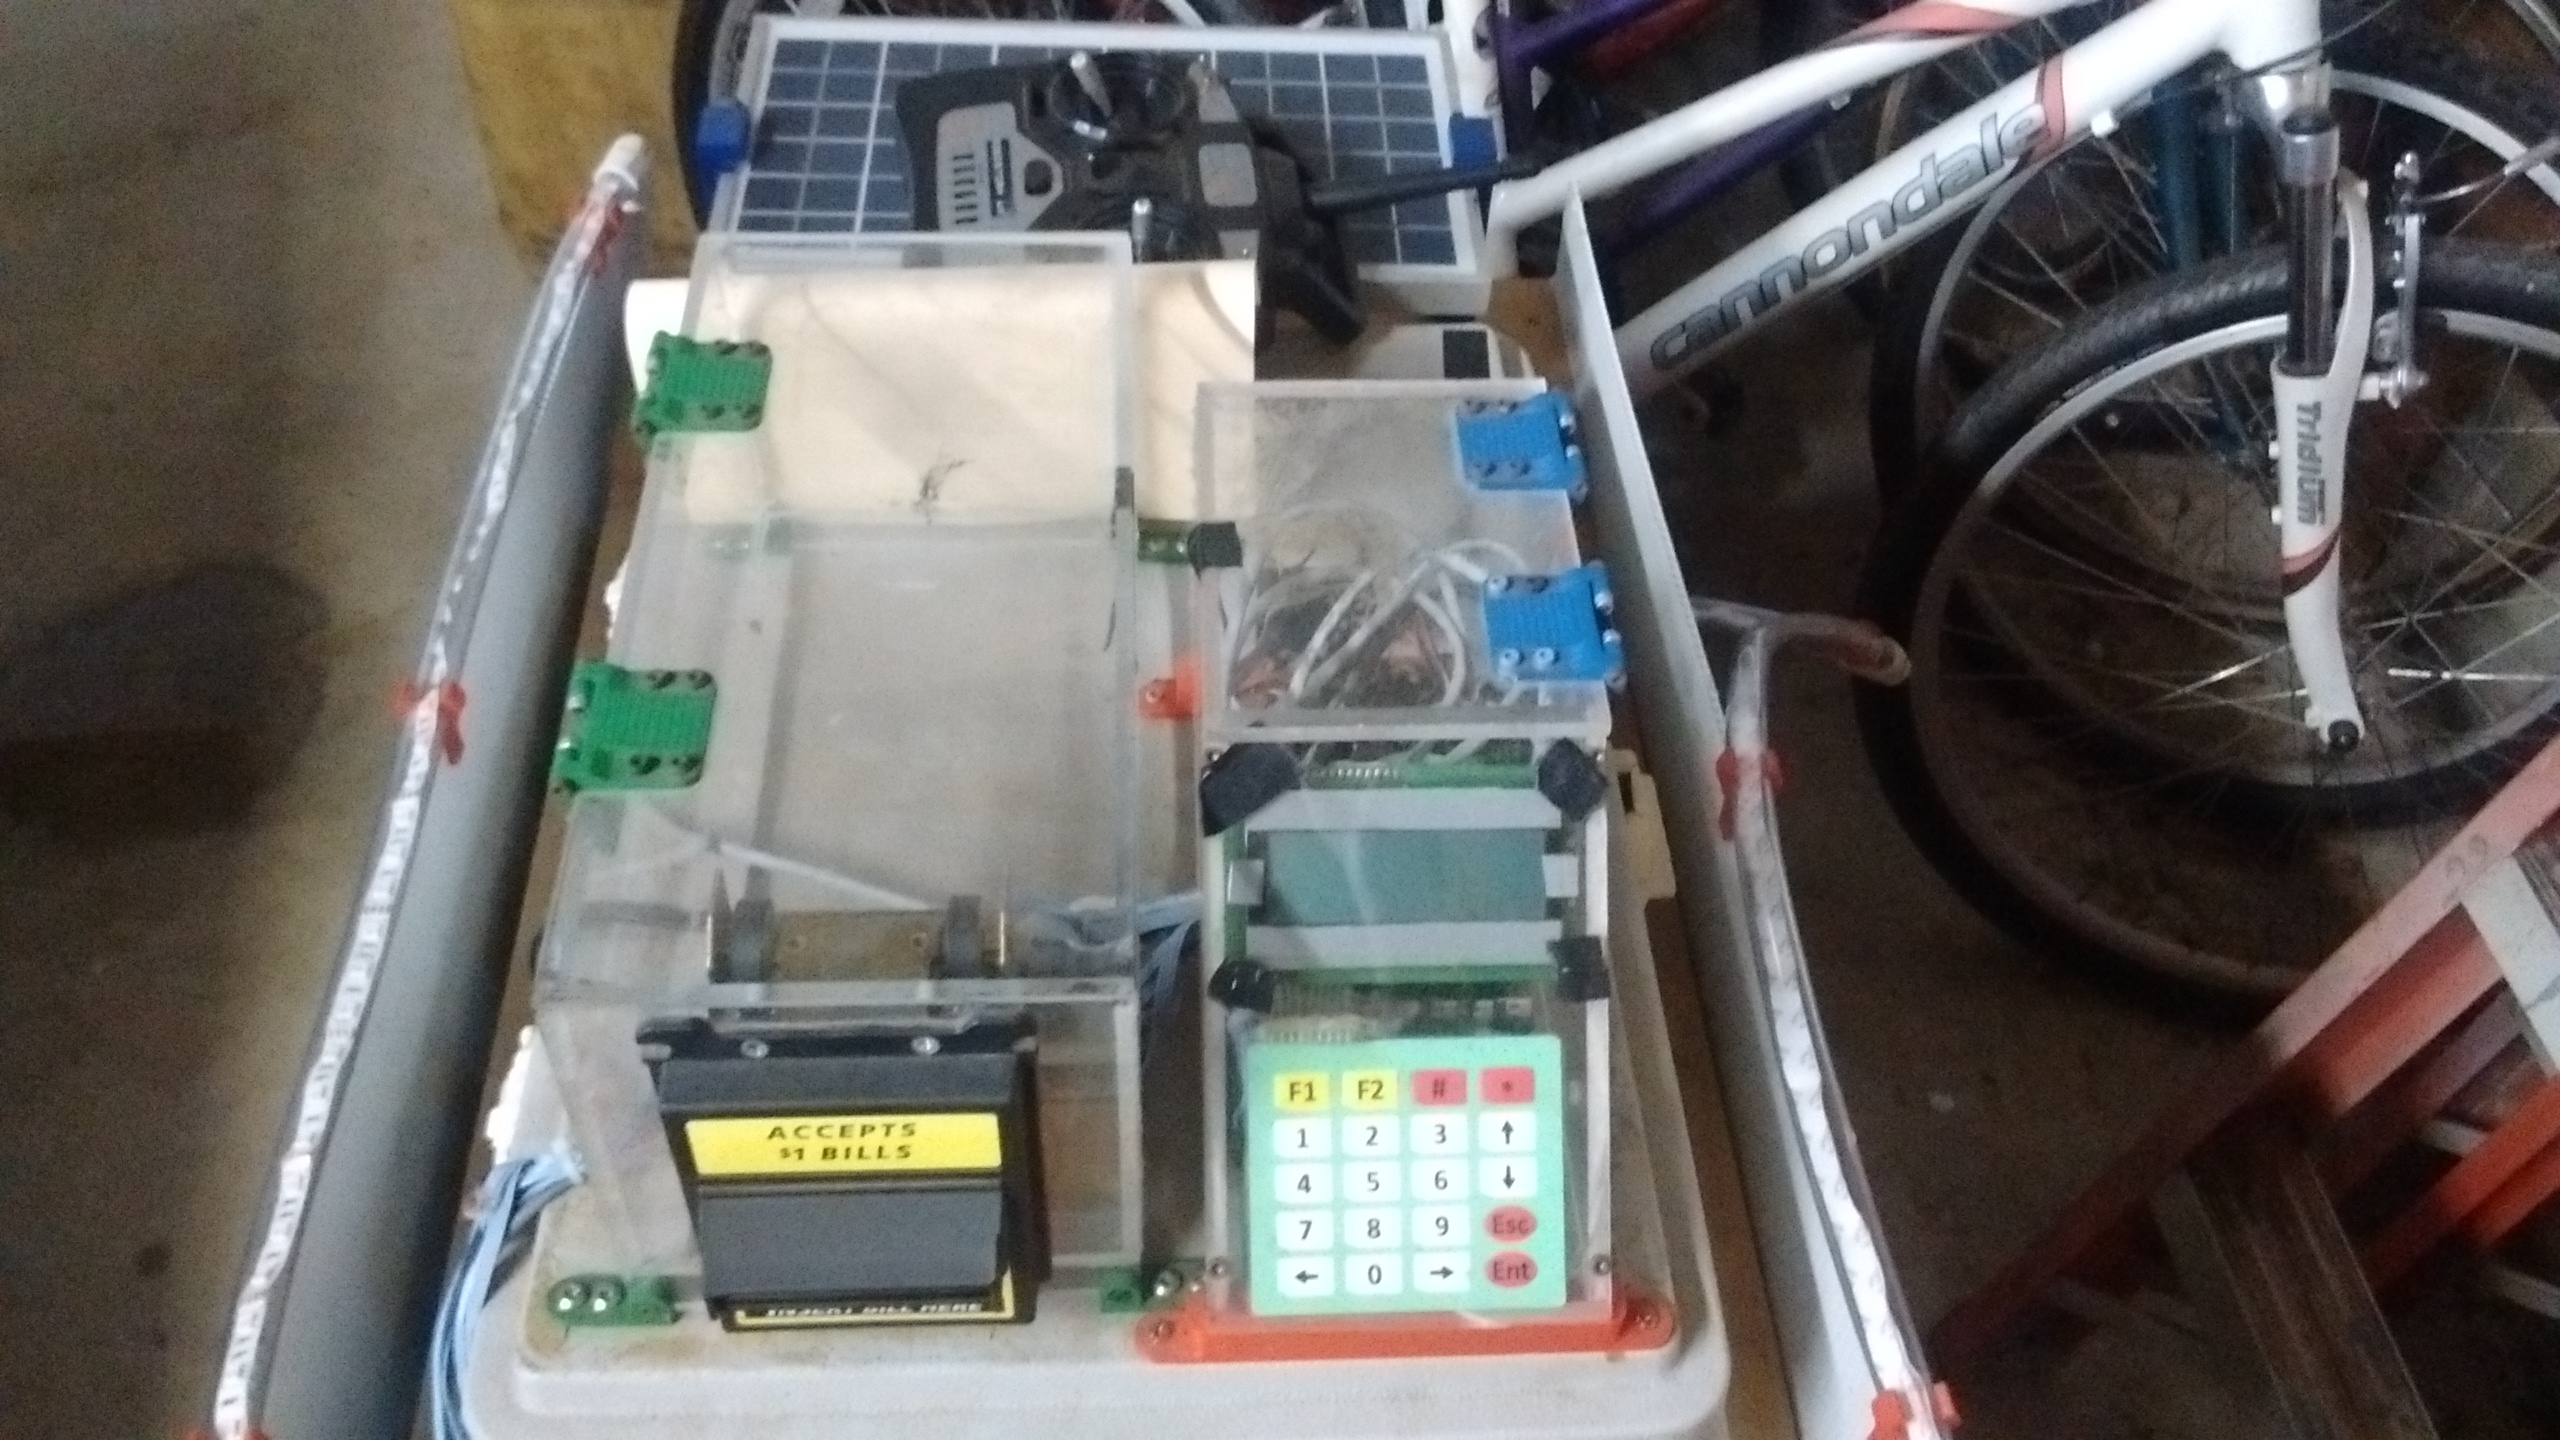
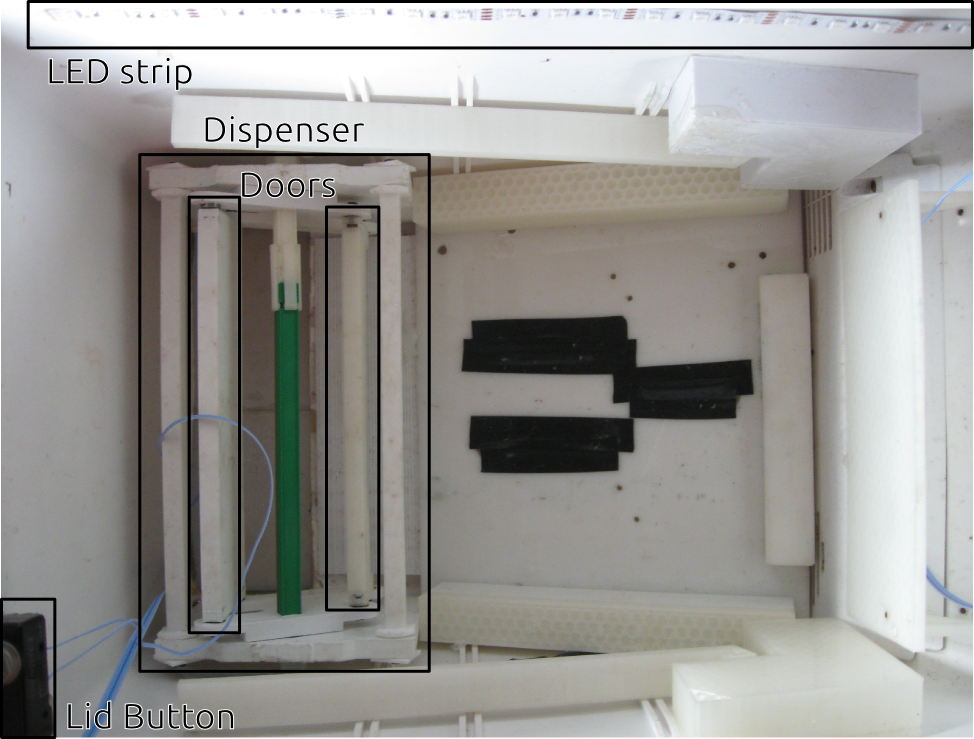
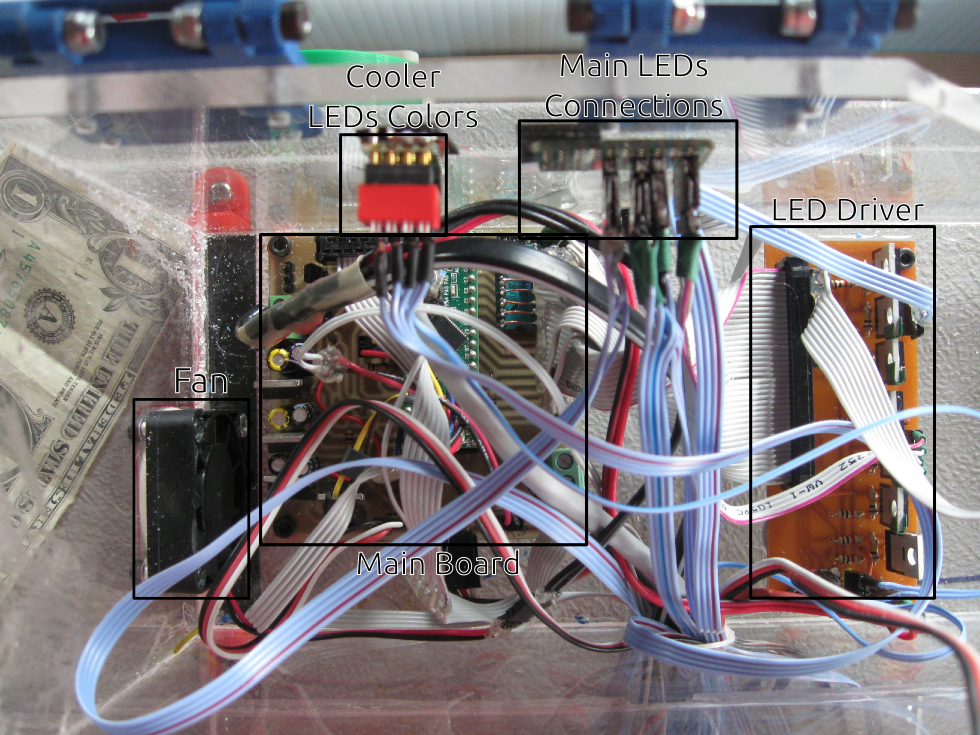
For the second year, I redesigned the cooler and water dispenser. Instead of using Lego Mindstorms, it used a Teensy++ 2.0 for the brains, and a high powered, metal geared hobby servo to dispense the water. The dispenser was redesigned to fit entirely in one cooler, and was 3d printed. This way, parts could be reprinted at the fair if something broke. It was also designed so that an extra servo could be added if one was not enough. The bill acceptor was replaced with one from an old vending machine. Although we were not able to get bill validation to work, it does accept bills much better than the old one. I made a clear acrylic box to hold the bill acceptor, money, and electronics on top of the cooler. The next year, the electronics were moved to a second acrylic box to hold a display, keypad, and LED driver board. LED strips were added to the outside of the Aquabot, and flash different colors when a bill is inserted and a bottle dispensed. The LCD displays the number of bottles remaining and sold, and can also be use with the keypad to set the bottles remaining, bottles sold, and the brightness of the LED strips.
At first, the LED strip cables were connected straight to the LED driver board with 0.1in headers. However, removing any of Aquabot's side panels for service also required disconnecting and taking off the LED strips. To make this easier, we mounted some RJ-11 phone jacks in the side of the box, and crimped the plugs on the cables. This provided a quick-disconnect that was also securely latched.
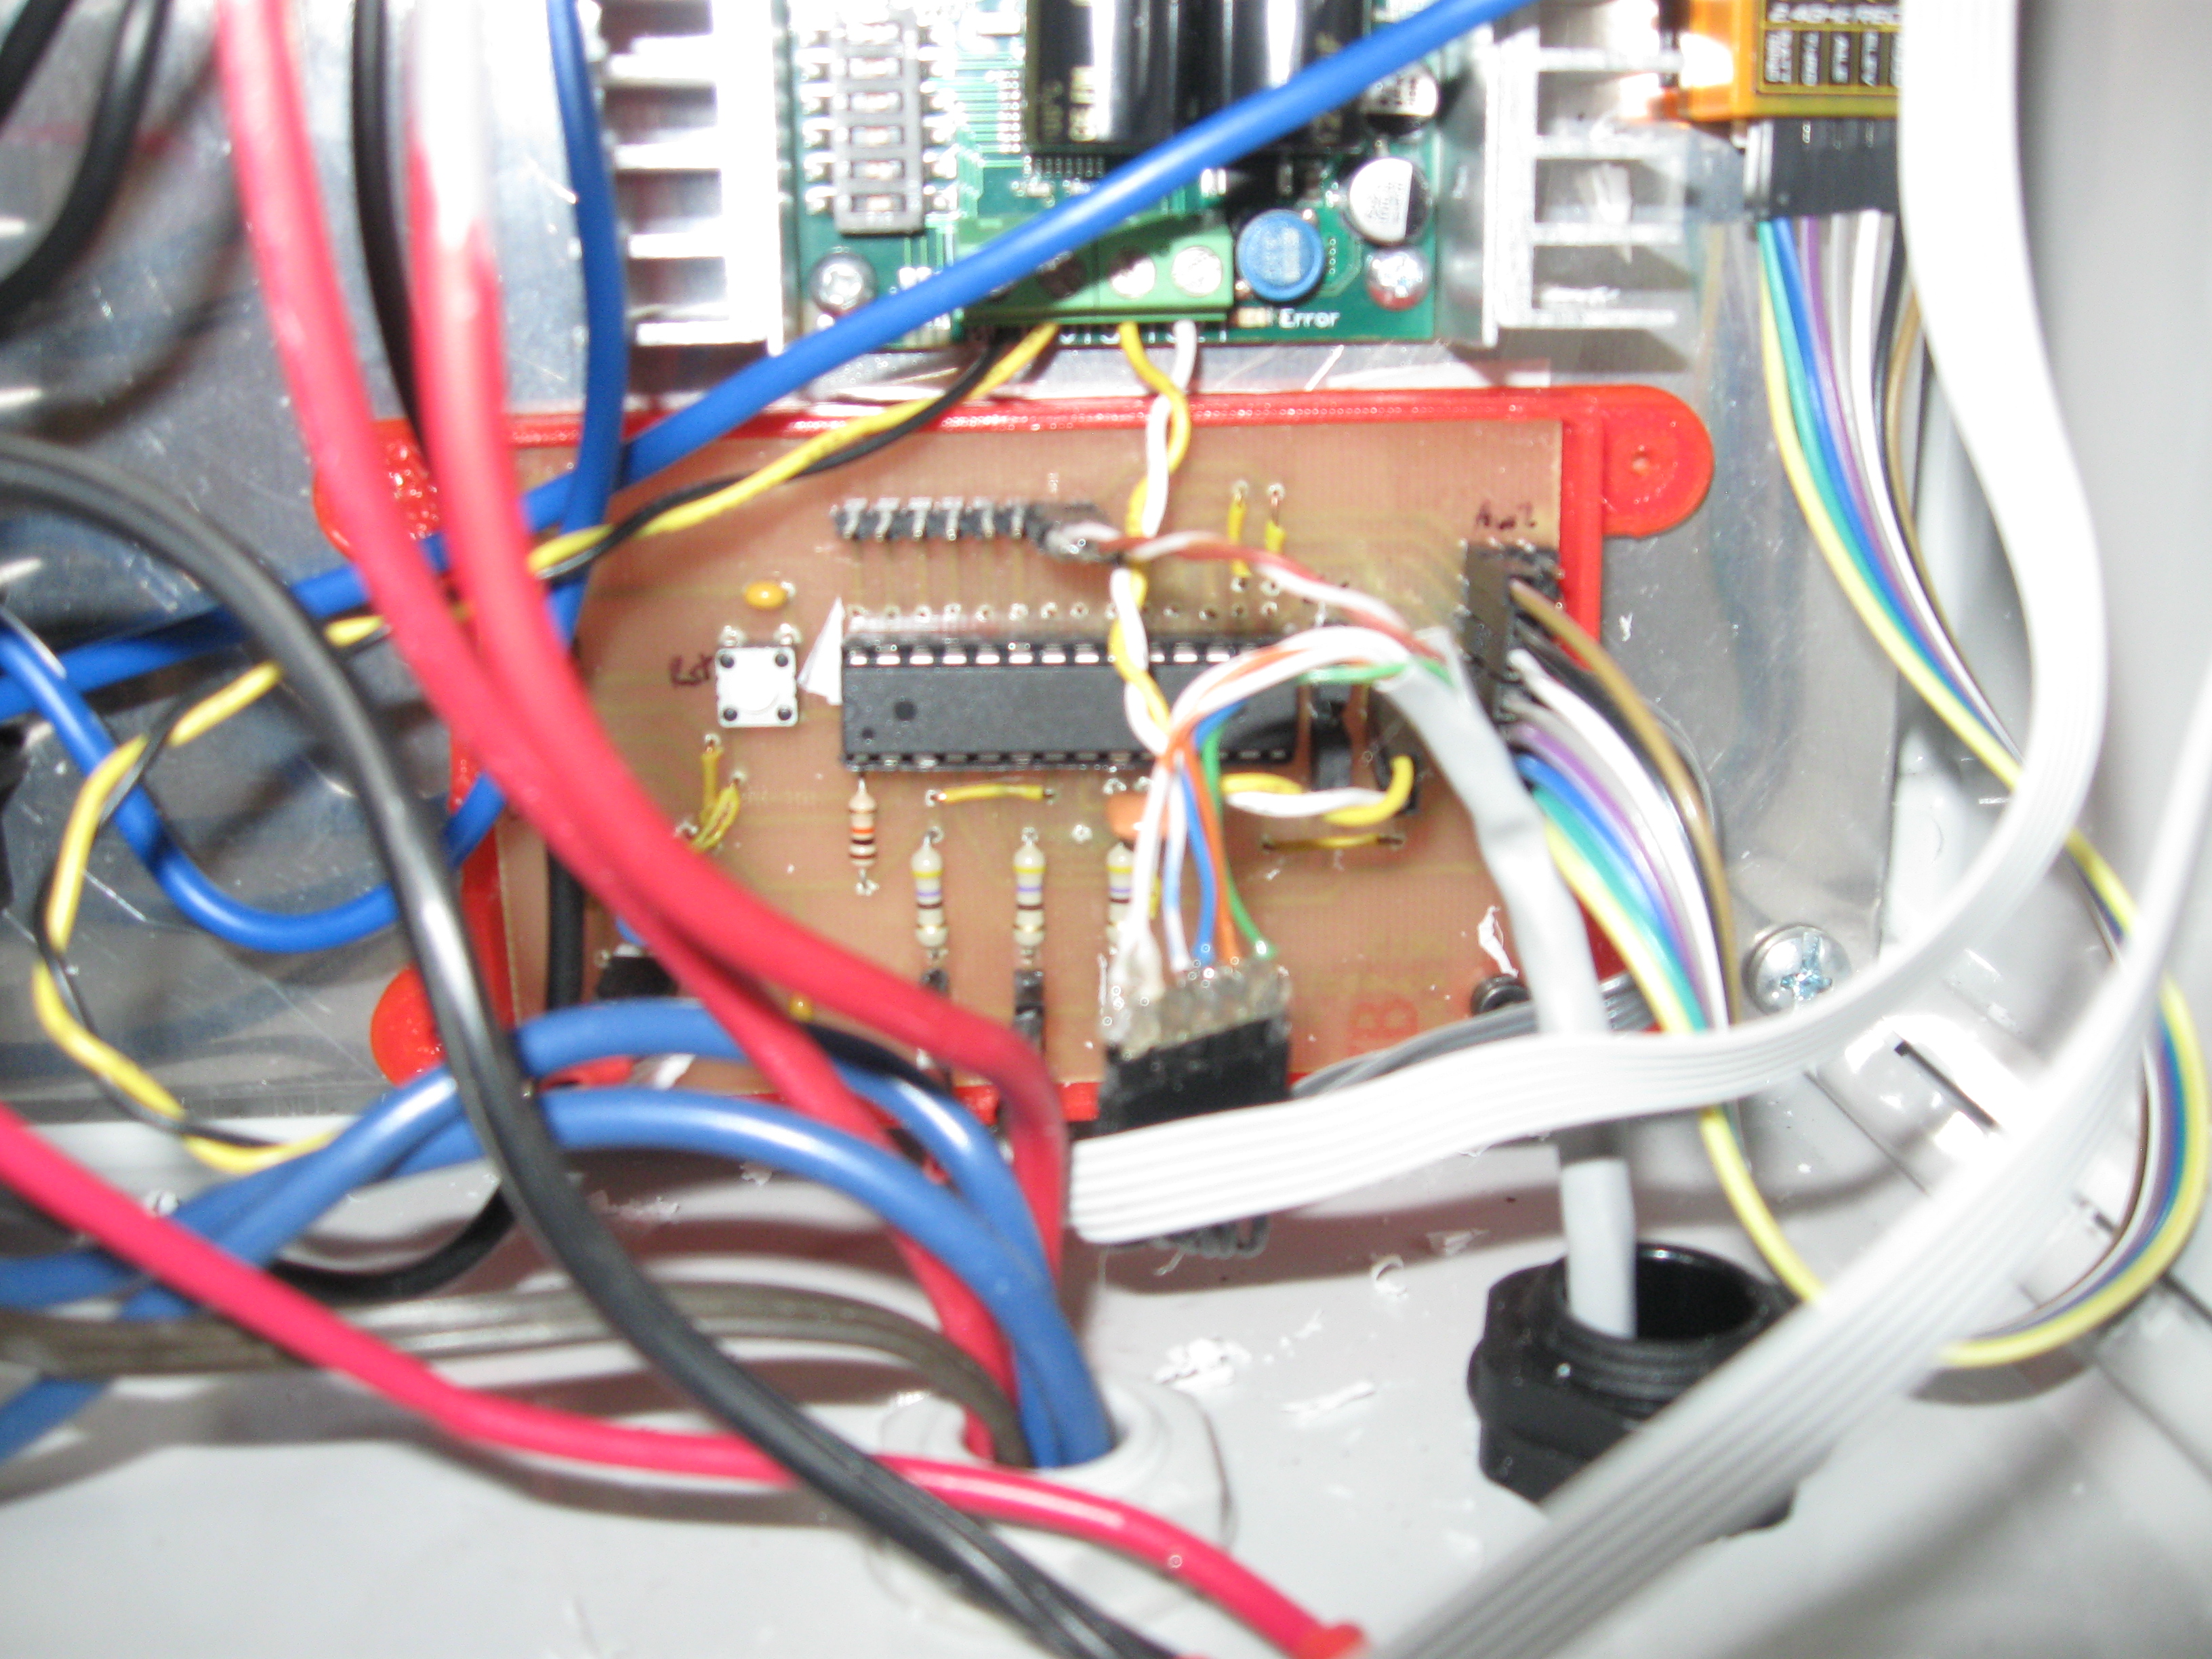
There is a lot going on in this electonics board, so I wrote up some documentation to help other club members figure out what might be going on: